Thursday, October 22, 2015

How to Make the Firing Pin

Making the firing pin is easy.

Cut a 3 inch piece of dowel and drill a hole in one end about an inch from the end.  The hole will be for the string to thread thru so it needs to be small enough not to break the dowel but big enough to fit your string.


Next you will need some eye hooks.  The size of the eye should be big enough to fit the dowel.  


The eye hooks will attach to the trebuchet like this.  


Now you will need to fashion the sling to take the pin. Start with about 5 inches of tape and split down the center leaving two strips.


Trim about an inch off one side so it is shorter than the other


Place the shorter side on the longer side with sticky sides facing each other leaving a sticky part at each end.


 Now stick this strip loosely to the sling as shown.  I used my dowel to keep the space


You will need two more short strips - maybe 3-4 inches


This strip will wrap around the sling as shown.  You can wrap twice for more security but I haven't had one break yet.


Do the same below the loop


The pin fits like this


When its hooked up this is what you will have


 Fire in the hole!

Sunday, October 4, 2015

Why Did I Make the Bean Bag Fling?

Pinewood Derby is synonymous, it seems, with scouting activities and my boys have had more than a few great times cheering on their cars at the derbies in the past.  When I attended my first Trail Life leadership meeting in DC, one of the areas of concern brought up by the grassroots members was coming up with something different as an alternative to the pinewood derby.

Living in Dover, Delaware, I was familiar with the annual Punkin Chunkin event held in south Delaware and televised on the Discovery channel each November (it is now on the Science Channel). I had an epiphany of taking the Punkin Chunkin idea and shrinking it down into a small-scale, derby-sized event for Trail Life.  My hope was that this event would be viewed as a viable alternative to pinewood derby.

The first thing I did was contact the Punkin Chunkin board of directors. They were both gracious and enthusiastic in offering their help. They even invited our troop to come check out a trebuchet in action as well as tour an array of other amazing Punkin Chunkin machines.  The Trailmen had a great time and not only was it a successful event, but I gained valuable information and got some incredible guidance and direction, especially about making it an accuracy competition, from Frank Payton of Punkin Chunkin.

Freak March snow flurries couldn't keep DE-01 away from the trebuchet! 

When I began the process I had several concerns.  First, when making trebuchets, the question of size; how small is too small and how big is too big?  I wanted a competition format that could be held in a gymnasium setting.  And after lots of trial and error, I believe that I have zeroed in on the Goldilocks zone for this competition.  When you have finished building your machines, you should be able to fire accurately from 10 to over 60 feet.  This will do nicely in a gym.

Next, I wanted to make the competition more skill oriented.  During pinewood, especially when boys are younger, the parents usually do the majority of the work on the cars and then, during the competition, the adult leaders run the track leaving the kids to root for their cars from the sidelines. As exciting as this was,  I always felt it would be great if during the competition they could tinker with their cars between heats to make them faster, like real pit crews.  In this competition I wanted the participants to have some control and to have practiced ahead of time to master the skill of firing the machine from different distances.  In the Bean Bag Fling, not only can the Trailmen complete the construction themselves, they will also set them up, aim them and fire them.  With this in mind, the trebuchet design needed to be light enough for even the smallest Trailman to carry and the amount of firing opportunities needed to be enough to get a good point distribution and yet few enough not to take all day.  As a result, I came up with 6 accuracy shots (2 each at 3 distances) and 2 distance shots for a total of eight shots.

Next, I needed a projectile.  Pumpkins were probably not a good choice due to size and the mess they would create. And besides, the name Punkin Chunkin was already taken and truly belongs where it is. So I decided making small bean bag projectiles was the best way to go.  These were easy to make and the weight and size of the bags could be varied (by making several of different sizes and fillings) which would affect distances of the shots.

Last, I wanted to design a trebuchet that would be inexpensive to make with plans easy enough for anyone to follow and build.  The plan I settled upon cost me less than $15 and allowed for the machine, sling and beanbags to all be made by hand, no power tools required.  The plan on this site is exactly that.  These machines are fun to make, easy to fire, can be repaired on the fly and can be enhanced using lots of decorative and engineering upgrades.

Hopefully you will have as much fun holding this competition as I did in making it up.  A final and most important thanks to Jesus Christ for Salvation and Glory to God for inspiring me to minister through Trail Life.

Walk Worthy

Thursday, October 1, 2015

How to Make Bean Bags

You will need 2 or 3 balloons about the size shown, 
I bought the mixed bag of balloons at my local Dollar Tree store.


Cut the balloons as shown


You will also need the following materials: Dried beans or other filling material. I used lentils for this example.  A funnel (wide opening is helpful)  Something to tamp the beans into the balloon.  Here I used a chop stick.

Use the funnel to get the beans into the balloon

You will need to push the beans down into the balloon.
Be careful not to push so hard the you put a hole in the balloon.
Try not to overfill as you will need enough room to twist and tape the opening closed.

Once you reach the desired fill, twist the excess balloon at the top and tape the opening down


Now cut a second balloon

Wrap the second balloon around the first balloon in the opposite direction so that the opening are on opposite sides.

Tape down this opening as well - you do not need to twist this time, simply fold it over.
 You can use a clear tape or a same colored tape for a better finish. 

If you like, you can repeat this step again with a third balloon for better durability.

The ball should fit inside the sling as shown.
We recommend, that for the competition, you make several beanbags of various weights for firing at different distances.

Rules for Bean Bag Fling

Rules for Bean Bag Fling

Design Requirements/Specifications
Trebuchets, slings and beanbags must be made by the Trailmen and not store bought.

The maximum height of any trebuchet, including swing arm in the vertical position with release pin, is 3 feet.


The maximum length of the base of the trebuchet is 18 inches


The maximum width of the base of the trebuchet is 12 inches.


Competition Specifications
A minimum of three types of competitions are held - Accuracy, Distance and Best Design

Award categories must include, but are not limited to, “Most Accurate”,  “Longest Shot”, and “Best Design”.


Accuracy Competition
The firing targets will consist of 5 rings.  
The rings will get progressively smaller (like skeet ball) and the point value increase moving inward toward the center
.
The outer ring will be worth 5 points, moving inward, the fourth is 10, third is 15 second is 20 and the center is 25.  Maximum score per round is 50 and maximum score per competition is 150.


To begin the competition, the middle of the firing target ring will be placed  at a distance of 25 feet from the firing line.  
Each trailman is allowed 2 shots from each of 3 different distances.
After each competitor has taken his two shots at that distance, the target is then moved to the next distance.

Shots 1&2 will be shot from a distance of 25 feet
Shots 3&4 will be shot from a distance of 35 feet
Shots 4&5 will be shot from a distance of 45 feet

After each Trailman has completed 6 shots the scores from each shot will be added together and the highest score will win the accuracy competition.

In the event of a tie for highest score, the target will be moved out an additional 5 feet, to 30 feet, 
and two additional shots will be taken by tying competitions
.  
The distance will be set at 30 feet and the highest combined score will determine the winner.  
If yet another tie occurs, follow the same procedure with the target at a distance of 40' and then 50' if a third tie occurs.


Distance Competition
Each Trailman will get 2 shots with only the furthest shot being counted.  The longest shot wins.


Voting for Best Desgin
Before the accuracy and length competitions begin, have all competitors place their trebuchets in a protected (adult monitored/no touching) area. Provide ballots and a ballot box. Each Trailmen is allowed only one vote and the votes remain anonymous. This needs to be done far enough in advance so as not to delay the beginning of the other competitions. During the other competitions, have two adults count and double count the votes saving the winner's name to be announced at the Award's Ceremony at the end of the day.

This category could be expanded to include subdivisions such as "Best Use of Color", "Most Realistic", "I'd Pay Money for That", etc...to keep it fun and allow for more winners. You would simply provide each Trailman with a ballot for each category as well as a separate box for each of the different categories.


How to Make The Sling


You will need approximately 84 inches of string total cut into two 42 inch pieces 

Mark the middle of each 42 inch piece 
(Ignore the 20 inch measurement shown - I want to create more room for error with a longer string)

Cut a 5" length of duct tape  and then cut it down the middle long ways.
Place one piece of the tape (the half width of duct tape) at the mid point of both strings keeping a 
1 3/4 inch distance between the strings as shown above.

Fold the tape around the string as shown above making sure to maintain the  1 3/4 inch distance.


Place 2 more pieces (these also are the 1/2 widths of 5" lengths) one inch away from the center on each side keeping your 1 3/4 inch string spacing throughout.

Fold the pieces as shown like you did with the first one.

Cut another 7" length of duct tape and again, half it lengthwise.
Place one of the strips lengthwise underneath the 3 pieces.

Fold the ends over to lock into place

Repeat on the other side to finish the pocket as shown above


Bring the main arm down to the base.
Measure the distance it takes to extend the slings to the back of the base .  
Make sure the sting is tight at the furthest point.

 Tie one side of the finished sling through the hole on the main arm as shown

 Stretch the other end to the release pin at the top of the string arm and tie off

 Once both ends are secure and the pocket of the sling is centered,
you can trim the excess string.

How to Make a Trebuchet for about $12

Trebuchet Instructions

Main Supplies:
(3) Three 1x2x8 boards (that is what the tag says but actual measurement is smaller) - the boards were $1.17 each ($3.51).  I had about 20 inches of wood left over after all cutting was done.


(1) One Wooden Dowel  (7/16in x 48in) - ($1.78)
(3) Three packs of #6 x 1 ¼ in wood screws (10 in each pack = total 30 screws - only 2 pictured here)
             (each pack was $1.24  which cost 3.72 or you could buy 100 pack for $4.57 and split with                    another Trailman)


1-  #6 - 1/2 inch screws ($1.24)

1 - 2" x 16" piece of flat board and 1 6"x 6" piece of flat board.  Here I bought a $4 piece which gave me an excess amount (could split with another Trailman) and I had to cut to size but there are smaller options out there at both hardware stores and craft stores


**Total supply cost for build was $12.47


Tools Needed:
Miter Box and Saw
Drill and Phillips Head screw Driver Bit
Measuring Apparatus (tape or yard stick)
1 Bottle wood glue

Some notes about the build:

1. I came up with this plan so it could be made with simple and inexpensive tools.  All cuts were             made with the miter box except when trimming the thin board later in the project.
2. I did not sand edges in this demonstration to save time but I highly recommend you do this.
3. I did not show drilling pilot holes for screws but this was done as well.

Ok - Here we go!

Step 1
Once you have assembled all of the required supplies and tools;
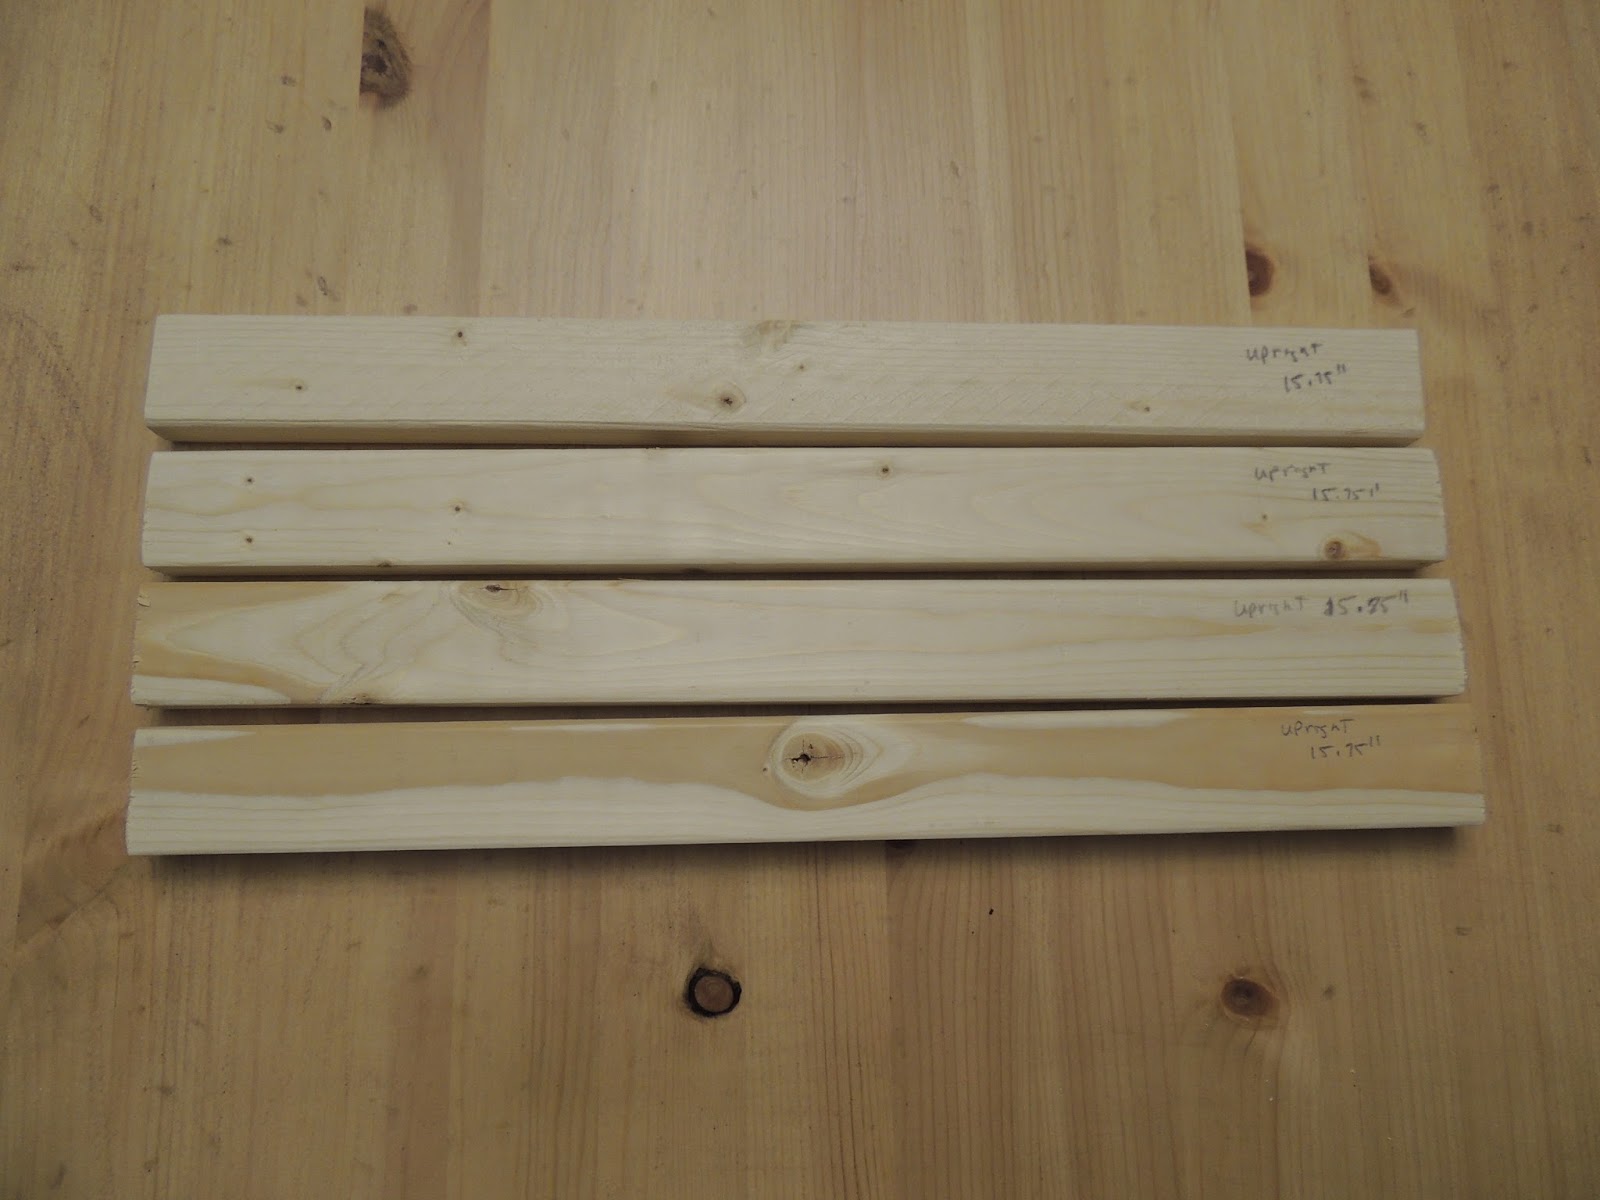
Cut 6 pieces each 16 inches long. (You may want to measure short say 15 and 15/16th to save for blade width.  I did 15.75 inches on this one.)


Step 2
Cut 2 pieces,  one 10 inches long and one 9 inches long.
You can also do 3 pieces at 10 inches and it will not effect the total outcome, but I left room in this one on the outside as you will see.


Step 3
Create the base of the trebuchet by gluing together the 16 inch pieces length wise on top of the 10 inch pieces. Add the 9 inch pieces in the middle and at each end.
It should look like this...
If you use 3 10 inch pieces you will not see the end of the board sticking out and the edges will be flush.


Step 4 
Cut 2 lengths of the dowel - one 12 inches and one 6 inches.  Set aside to use later

Step 5
Making the upright supports.
Glue the other two 16 inch pieces together, leaving room as shown, to fit onto the base.
The distance  is about a 1 1/2"  difference at the top and bottom as shown.  It is best to measure as shown in the second picture before gluing.
Glue the pieces together as shown in pictures 3 and 4
Repeat this procedure for the other side.


Step 6 
Once the glue has dried, drill a hole into one end of the supports as shown.
The hole needs to be big enough to fit the dowel.
The side with the hole will be the top of the support.


Step 7 
Glue the supports in place, and screw also them into place for added support
(It is helpful to have the 12 inch dowel  in place between the two supports to ensure proper placement)


Step 8
Cut 4 - 10 inch pieces with a 45 degree angle cut as shown below.
Glue and screw them into place.  These are the braces for the supports.


Step 9
Now to make the counterweight box.
Cut 2 -  6¼ ” pieces and 2 - 3 ¾ “ pieces which will become the frame for the counter weight box.
Glue and screw them together as shown.


Step 10
Cut 2 – 8 ½ ‘” pieces.
1 ½ inch from one end of each piece, drill a hole that is an appropriate size to fit your dowel.
With dowel in place between the two upright supports, glue and screw the brace supports into the middle of the box as shown with the drilled holes and with the 6 inch dowel in place to ensure proper position.


Step 11
Finally use the 6" by 6" thin board to create the base for box and use the smaller screws to attach it. This board may need to be trimmed to fit flush.


Step 12
Creating and attaching the swing arm.
Cut a 24 inch piece and drill two holes for a dowel - one hole at 1 1/2"  from one side and the other at 6 1/2"  from the same side as shown.


You will also need a smaller drilled hole at the opposite end and slightly offset to one side for attaching sling.  Here you see one swing arm with the sling attached and one with just the hole.


Attach the swing arm to the braces as shown using the rubber-bands to lock into place.


 You will need to put 2 rubber-bands onto the dowel before sliding in the sling arm


Slide the sling arm into place, threading the dowel through the hole that is at the 6 1/2" measurement. After sliding the sling arm into place, you will need to add  2 more rubber-bands.

 Finally, place 2 additional rubber-bands on the outside of the supports to lock the dowel into place


Step 13
Attaching the counter weight bucket.
Using the same method as with attaching the swing arm to the uprights, attach the bucket through the hole that was 1 1/2" from the end of the swing arm remembering where to place the rubber-bands to lock it into place.


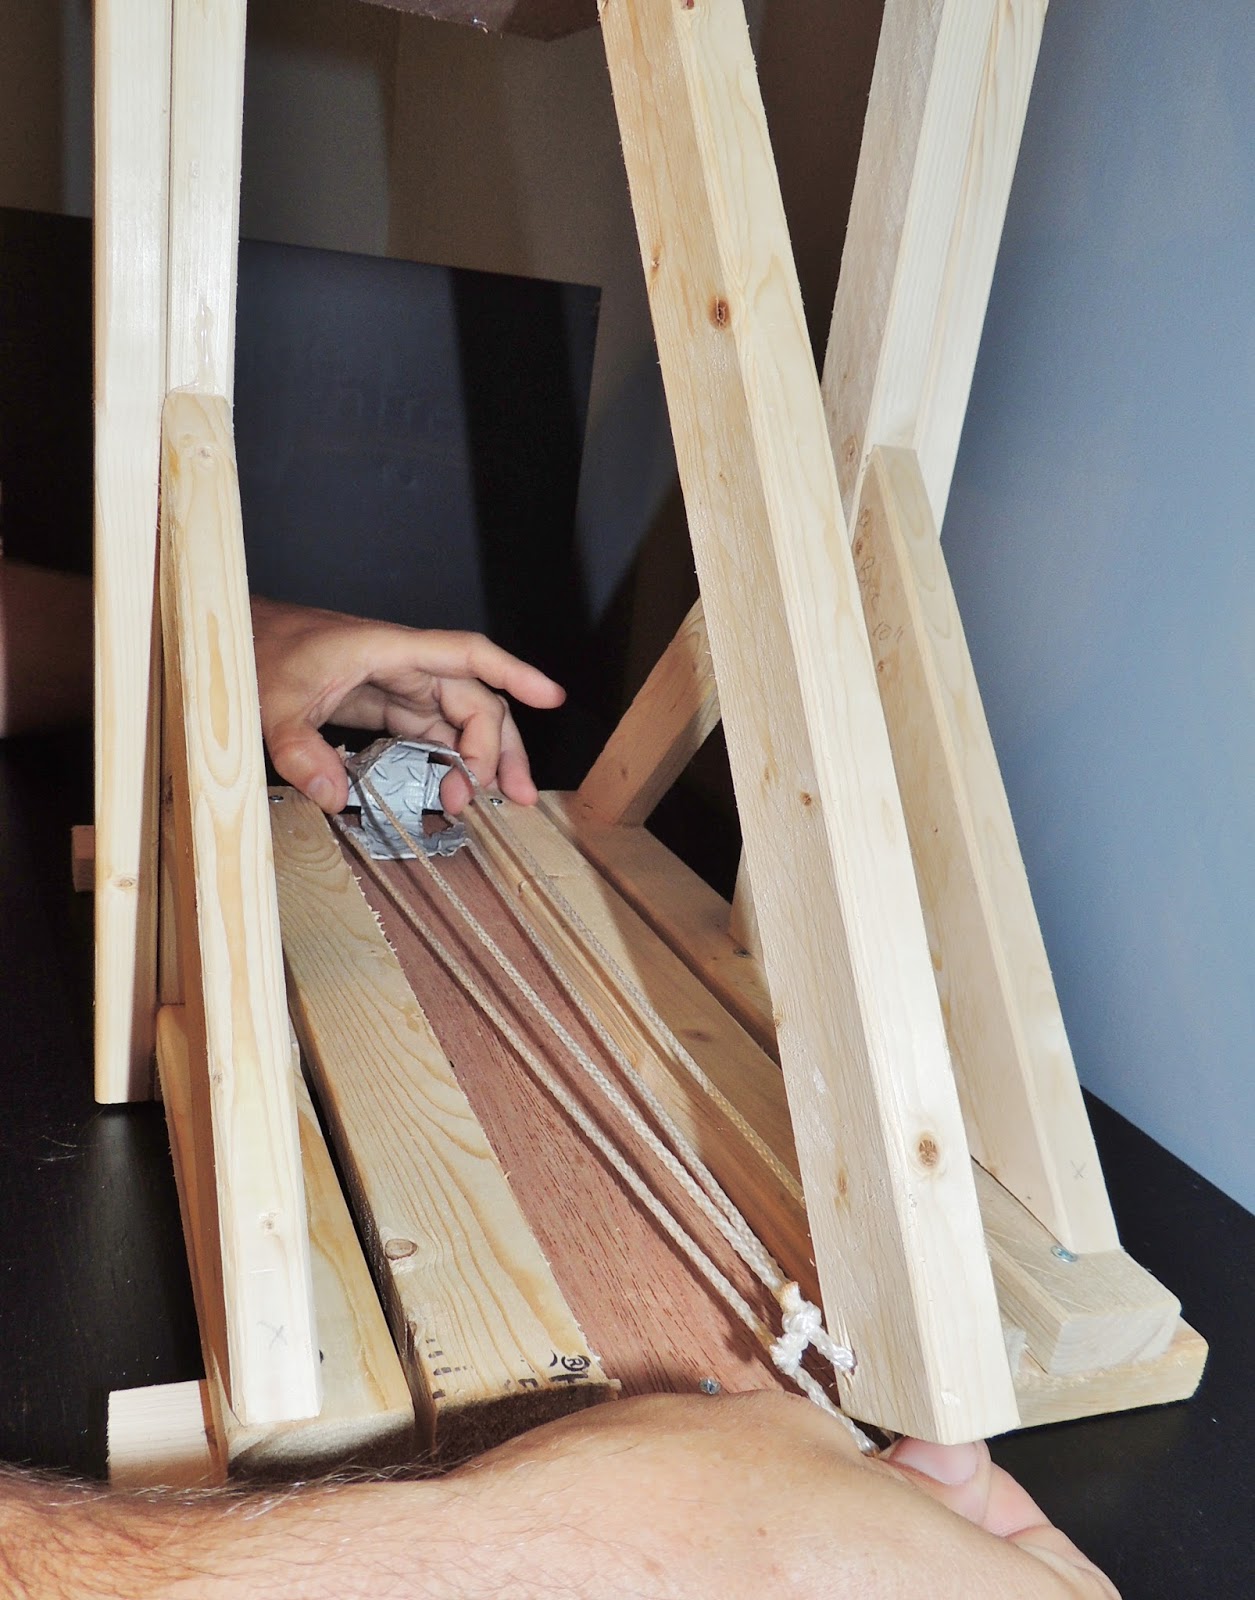
Oops - I forgot to include how to build the shoot in the first version.  Here it is.....
Step 14
Take 2 - 16 inch lengths of 1 x 2 and a 2 inch by 16 inch piece of flat board and construct as seen.
Sorry I forgot about this step.  Under Making the Release Pin you will find where to put the eye hooks.


Assembly of the structure is now complete and you are ready to make and attache the sling.